
Quick start
Go from sign-up to your first campaign in four steps. The portal tells you what is left at each step.
1. Create your workspace
Go to mailhoor.com/portal/signup, enter your name, company and work email, then type the verification code we email you. Your 10-day free trial starts straight away. See Free trial, plans and limits.
Note
New workspaces are reviewed before they can send campaigns to lists. You can set everything up while we review. See Account review.
2. Add your domain
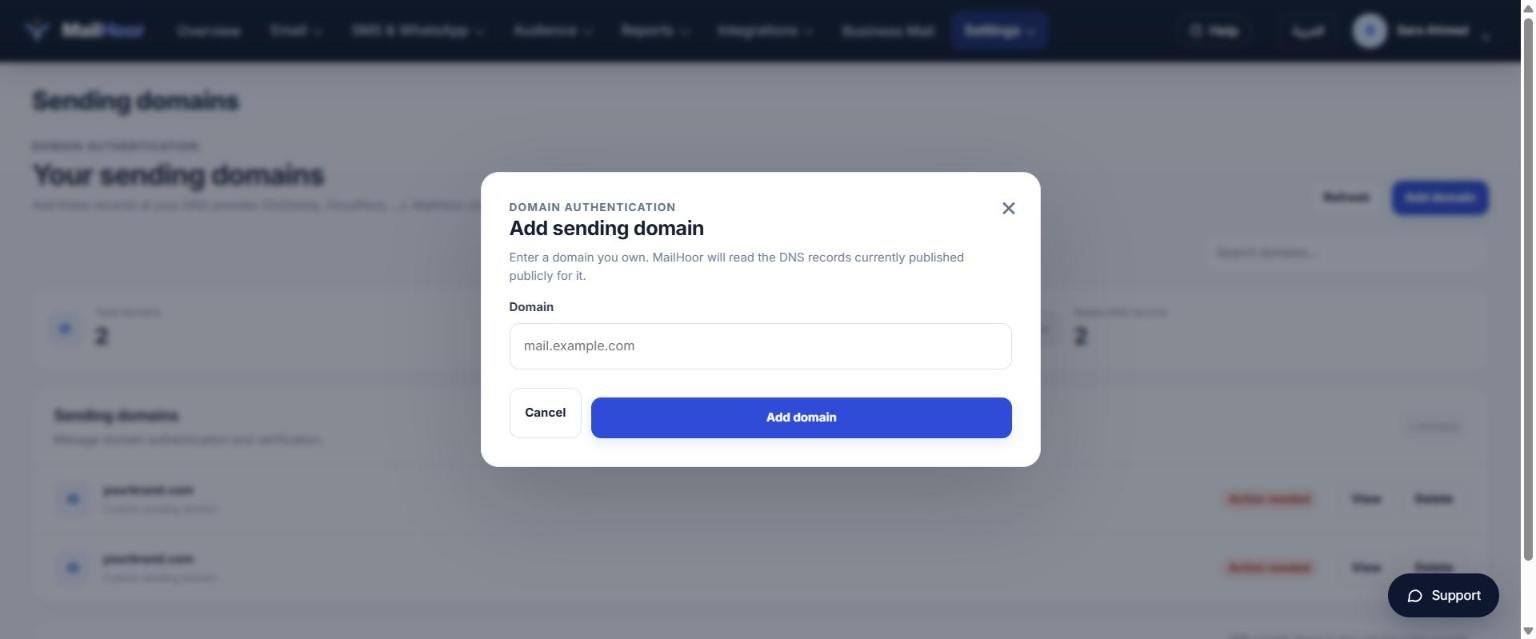
Open Settings → Sending domains and add the domain you will send from, for example yourbrand.com. MailHoor shows the DNS records to add, each with a copy button. Add them at your domain provider (GoDaddy, Cloudflare, Namecheap and so on), then click Verify. Full guide: Add and verify your domain.
3. Bring your contacts
Open Audience → Contacts, create a list and import a CSV file with an Email column. MailHoor removes disposable addresses and domains that cannot receive email before they reach your list. Then add your From address in Settings → Senders. See Import contacts and Sender addresses.
Only import people who agreed to hear from you
Bought or scraped lists cause spam complaints and bounces, which hurt delivery for your whole domain.
4. Send your first campaign
- Open Email → Campaigns and create a campaign.
- Choose a template or design your own with the drag-and-drop editor.
- Pick the list or segment to send to and your From address.
- Send yourself a test and check it on your phone.
- Pass the pre-send check, then send now or schedule it.
Results appear in the campaign report within minutes. See Reports and analytics.
What to do next
- Set up a welcome series for new subscribers.
- Add a signup form to your website.
- Invite your team.