
Add and verify your domain
Campaigns are sent from your own domain, signed with your own DKIM key. Add the domain once, publish four DNS records, and MailHoor checks them for you.
Before you start
- Use a domain you own, such as
yourbrand.com. Free addresses like Gmail or Hotmail cannot be used to send campaigns. - Have access to the place where your domain's DNS is managed: GoDaddy, Cloudflare, Namecheap, your hosting company, or your IT team.
Add the domain
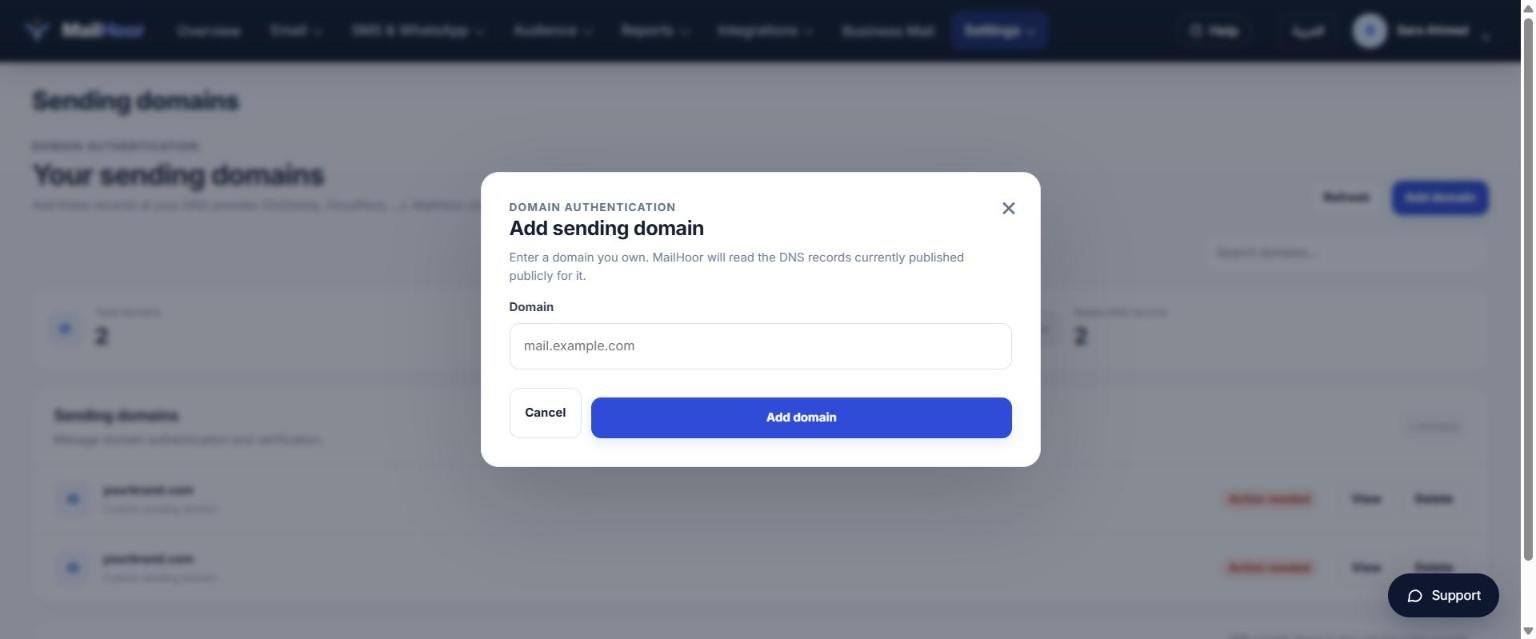
- Open Settings → Sending domains and click to add a domain.
- Type the domain without
wwworhttps://, for exampleyourbrand.com. - MailHoor generates a 2048-bit DKIM key for the domain and shows the records you need.
Publish the DNS records
You will see four records. Each one has a copy button. The exact values are unique to your domain, so always copy them from the portal.
| Record | Type | Name (host) | What it does |
|---|---|---|---|
| SPF | TXT | your domain (@) |
Lists the servers allowed to send for your domain |
| DKIM | TXT | <selector>._domainkey |
Publishes the public key that signs your mail |
| DMARC | TXT | _dmarc |
Tells inboxes what to do with mail that fails the checks |
| Bounce | CNAME | mhbounce → bounce.mailhoor.com |
Returns bounces to your domain and aligns SPF |
What each record means, and how to combine them with records you already have: DNS records explained.
Verify
Click Verify on the domain. Each record shows Verified when MailHoor can see it. DNS changes usually appear within minutes, but some providers take up to 48 hours. Come back and click Verify again; nothing is lost.
Let MailHoor publish the records for you
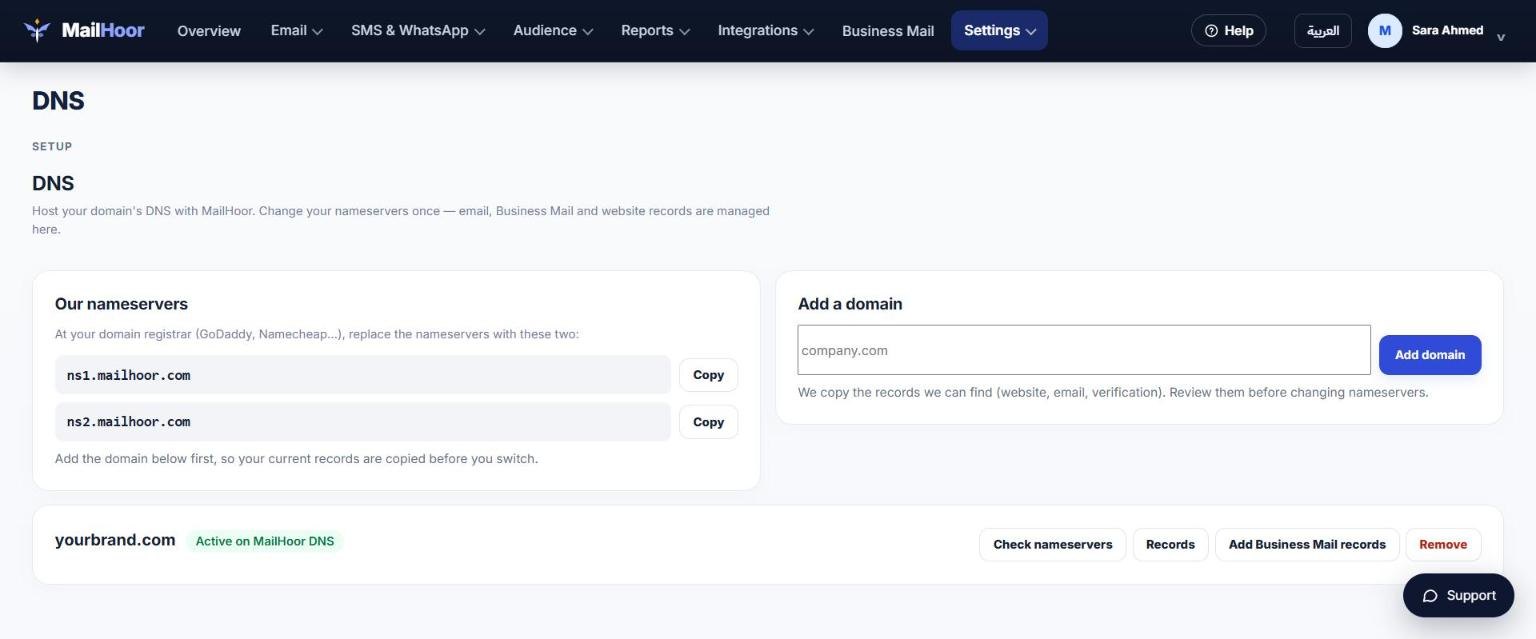
On the Business plan and above you can use Settings → DNS hosting. At your domain registrar, replace the nameservers with ns1.mailhoor.com and ns2.mailhoor.com. MailHoor then manages your email, Business Mail and website records in one place. Add the domain on the DNS hosting page first, so your current records are copied before you switch nameservers.
Tips for common DNS providers
- Name field: most providers add your domain automatically. Enter
_dmarc, not_dmarc.yourbrand.com. For the root record, use@. - Cloudflare: set the
mhbounceCNAME to DNS only (grey cloud). A proxied record cannot be verified. - Long TXT values: paste the DKIM value exactly as copied, in one piece. Do not add quotes unless your provider asks for them.
Still not verifying? See Troubleshooting.